Are you wondering how to accept verification requests in your Nafath account? If you’ve already activated your Nafath account on your smartphone (as detailed in my previous article), you’re ready to start using it for digital identity verification. Nafath, a government application, links to your Absher account and uses biometric features for verification. Here’s a simple guide to help you navigate through accepting requests in the Nafath app.
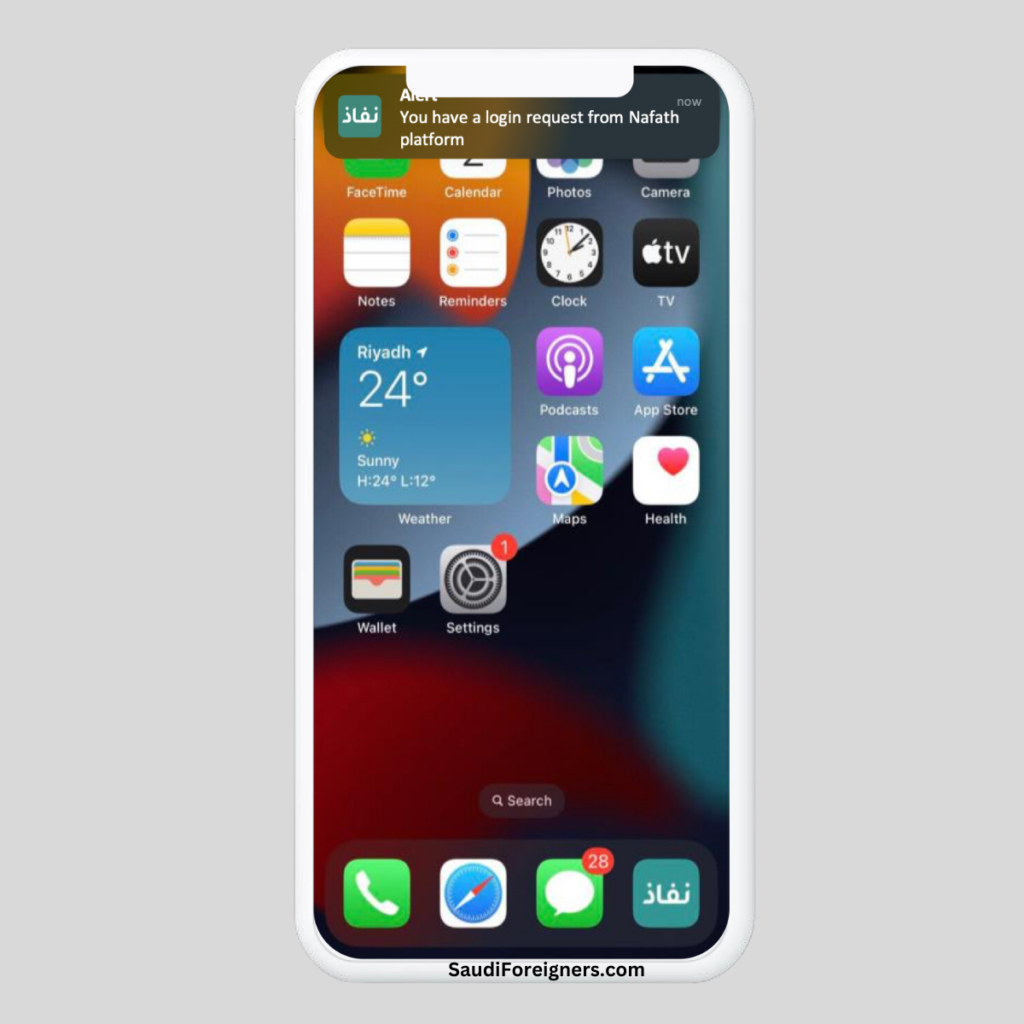
Step 1: Receive the Verification Request
- Stay Alert for Notifications: When a service provider sends you a verification request, the Nafath app will notify you. Keep an eye out for these notifications as they indicate a pending verification request.
Step 2: Open the Nafath App
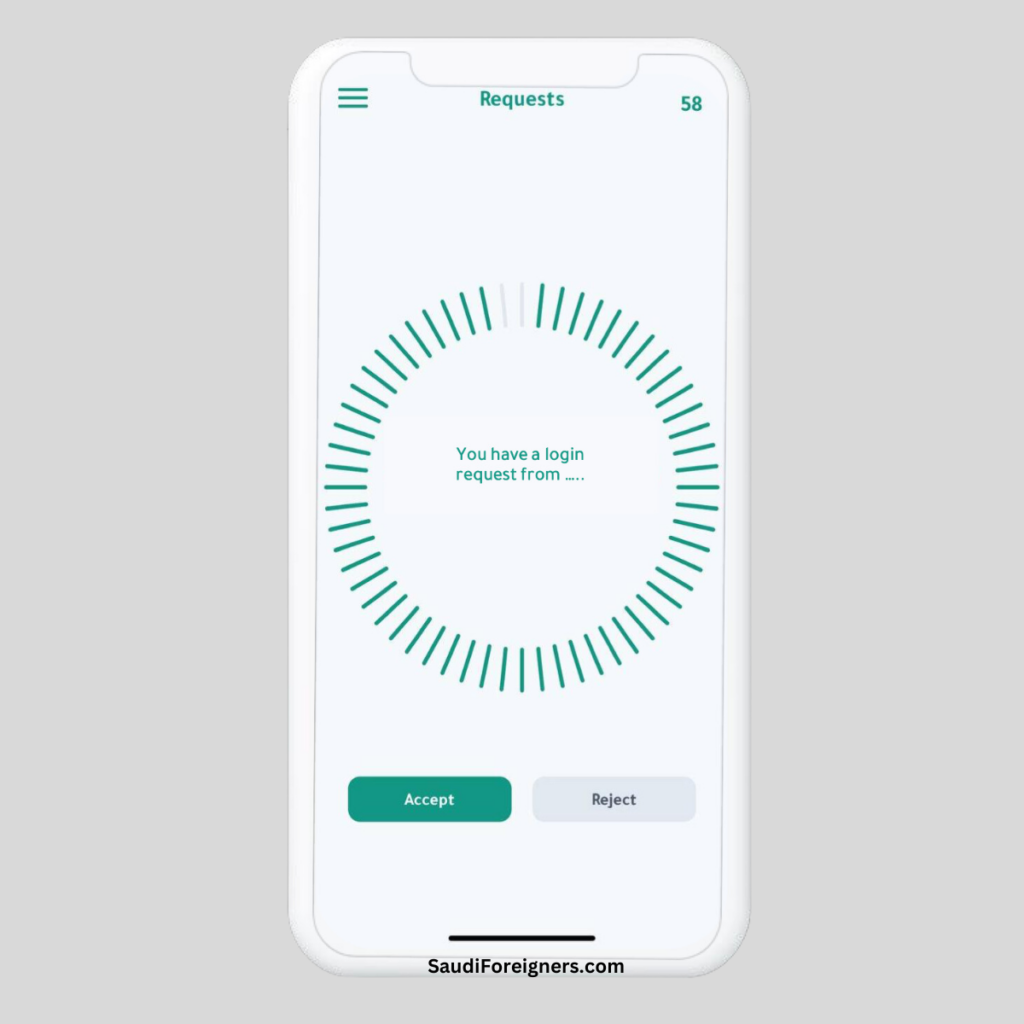
- Review Incoming Requests: Tap on the Nafath app icon on your smartphone to open it. Once inside, navigate to the Requests screen, where you’ll see the list of incoming requests.
Step 3: Respond to the Request
- Accept or Reject: Each request comes with two options – to accept or reject it. Carefully review the request details before making a decision.
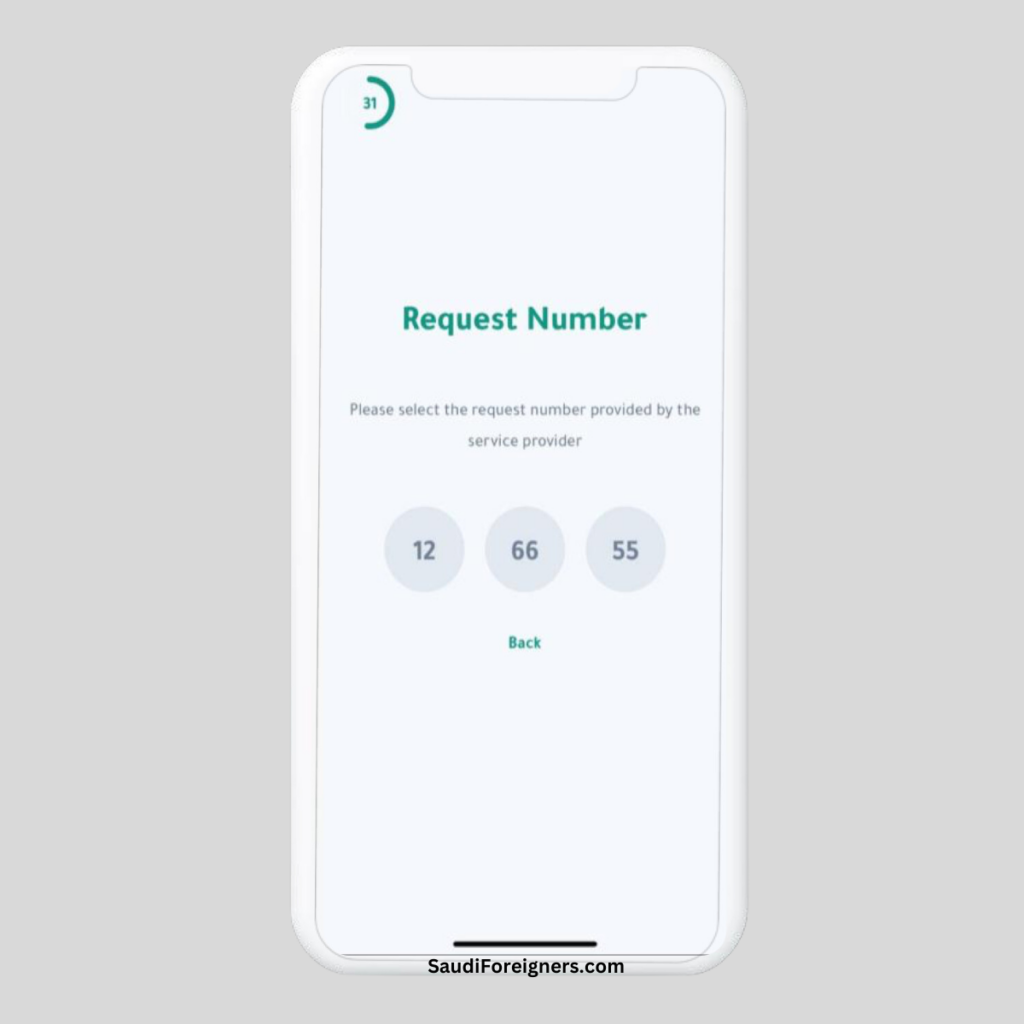
Step 4: Verify Request Number
- Match the Request Number: If you choose to accept, you’ll see three request numbers. Select the one that matches the number displayed on the service provider’s application or platform.
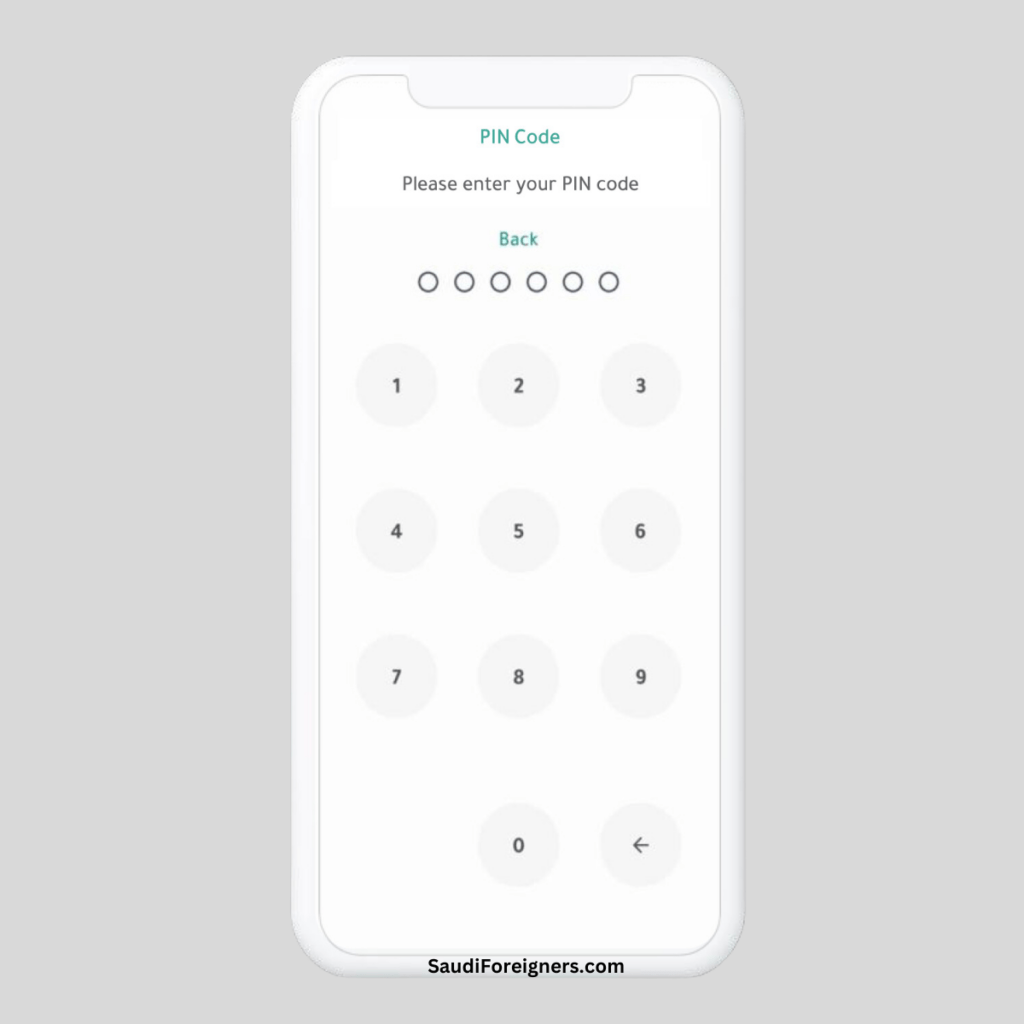
Step 5: Enter Your Personal Code
- Use Your PIN: To proceed, enter your 6-digit personal code (PIN), which you created during the Nafath app login process.
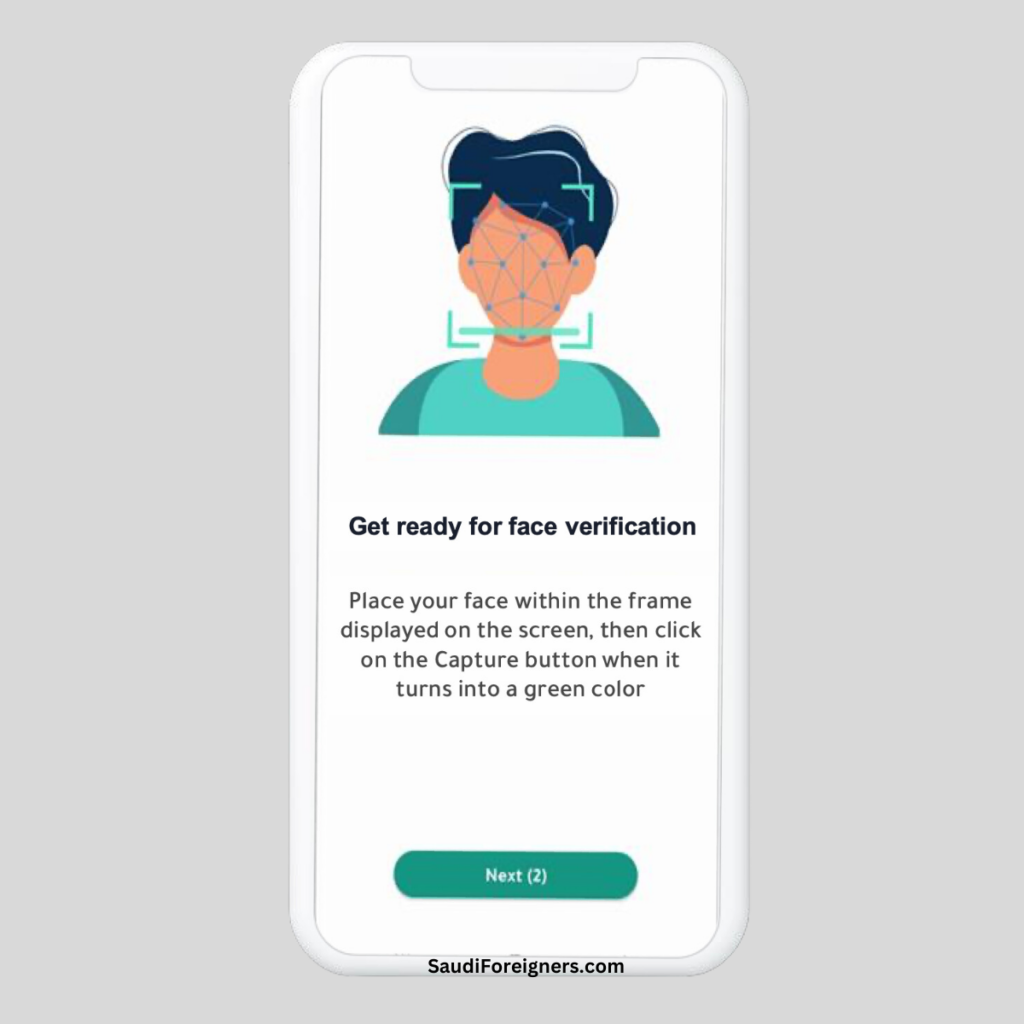
Step 6: Complete Face Verification (If Required)
- Follow On-screen Instructions: Some requests might require additional biometric verification. If prompted, follow the instructions on your screen for capturing biometrics.
- Position Your Phone Correctly: Align your phone as per the instructions. Once everything is set, the Capture button will turn green.
- Capture Your Biometrics: Press the green Capture button to complete the biometric verification process.
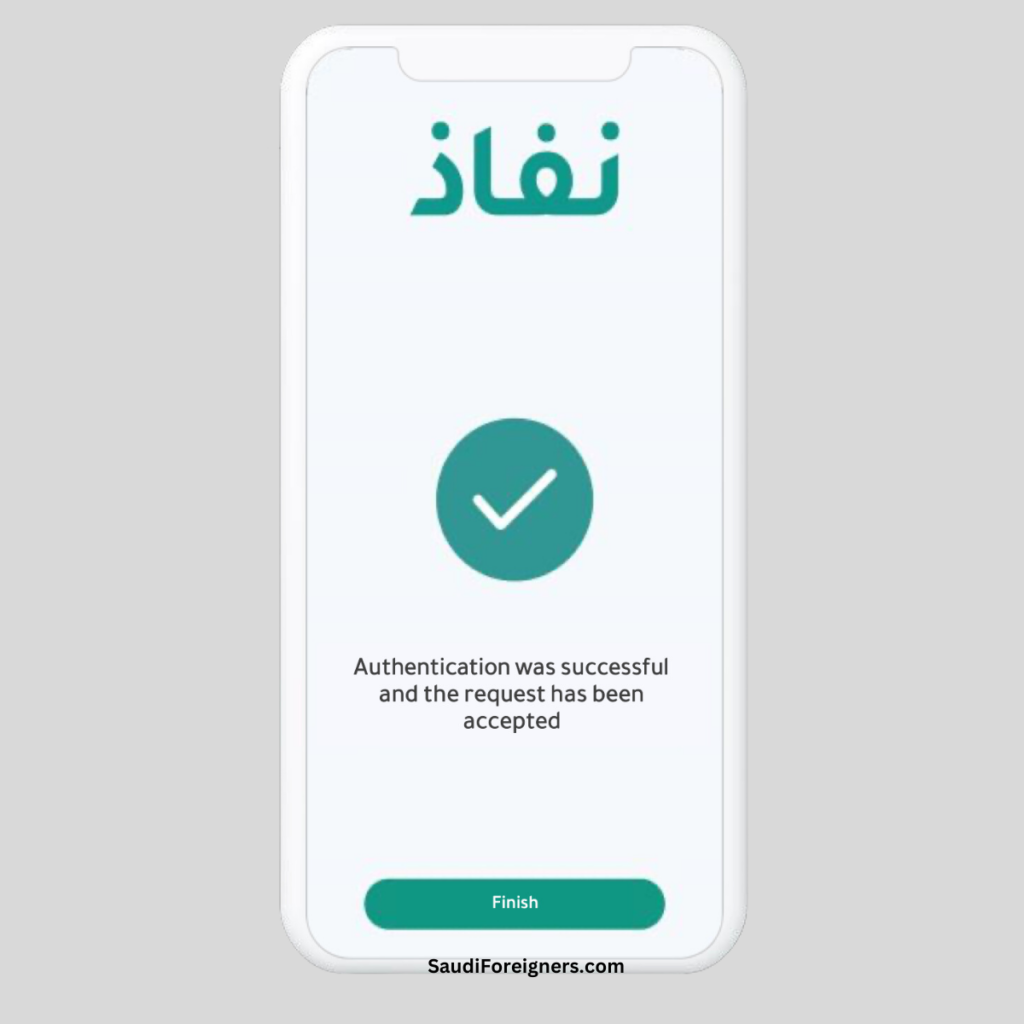
Step 7: Confirmation
- Successful Acceptance: After completing the verification process, you’ll see a message confirming that the request has been successfully accepted.
Conclusion
Accepting verification requests in Nafath is a straightforward process that significantly enhances the security and reliability of digital identity verification. Whether it’s for accessing government services or other integrated platforms, follow these simple steps to ensure your identity is verified quickly and securely. Stay vigilant for incoming requests, and remember to keep your app and biometric features updated for a seamless experience.


